Showing posts with label cherry. Show all posts

29 June 2014

Canning Cherries is a Cinch!

I adore cherries. They are sometimes called "nature's candy" (the sweet ones anyway), and they are scrumptious. But there's only a short window (about this time every year) that fresh cherries are available at a reasonable price. You might even be able to get them for a great price. My local store was having a four day sale, and sweet cherries that are regularly $6.99 per pound were going for $2.99 per pound. That's probably very close to the best price I'll see during the window, then it will be gone until next year.

I grabbed up six pounds of sweet cherries, and started the preservation process this morning. I plan to eat some straight from the bag (highly recommended), use some in a brownie recipe, make some freezer jam, dehydrate some, and can some. Today was canning day.

After washing the cherries and removing the stems, I set to pitting. This is the only part I don't like, but it's not difficult. If you have a cherry pitter, it's a breeze. But I don't have one. Still, as I said, it's not that difficult without one. I just use a small star cake decorating tip. You know the kind that go in icing bags? Just place the end of the cherry where the stem was over the top of the tip and press down. The cherry will separate and the pit will be pushed through.


It only took me about 45 minutes to pit all six pounds of cherries. And since I only do this once a year, I'm sure to be slow!

Incidentally, since a cherry pitter is something I probably wouldn't buy myself, and since Christmas is only six months away, if any family member out there is looking for an idea for something I might want to open in December...take a look at this.

Now on to the actual canning bit! Cherries can be preserved with the waterbath canning process. The absolute easiest way is to pack as many into a jar as will fit with a 1/2 inch headspace. Then pour boiling water over the cherries, also minding the headspace. Apply lid and ring, and process in a boiling water bath for 20 minutes.

If you want to add a sweetener, feel free. I pack my cherries in a light syrup. My goal is to have them as close to fresh as possible, since I don't always know what I'm going to be doing with them in the future. I just use a water / sugar ratio of 4 to 1. Today, for example, I combined 8 cups of water and 2 cups of sugar. Brought it to a boil, and poured it over my jarred cherries. And since I love the combination of cherry and vanilla, I added a teaspoon of pure vanilla extract to each of the jars.


Nothing could be simpler!  Six pounds of cherries with the 8 cup water / 2 cup sugar simple syrup gave me 8 pints of canned cherries.

There are other slight variations that can be made, as well. You can actually can cherries without pitting them. I've never done this, but I read you just need to poke the cherries with a pin so they won't burst. Also, if your are wanting softer cherries, cook them in the simple syrup of your choice for five minutes. Then ladle cherries and syrup into your canning jars for process.

Shared at Nifty Thrifty Sunday and some of these other fine hops.


Shop Ball and Kerr Products


Disclosure: This post contains affiliate links, which means I may receive a very small commission if you click the link and buy something. This helps support my mountain homestead dream as well as my blogging activities, and the price you pay will be no different than if you arrived at the same destination through any other link. My opinions are my own, to be sure. If I link to a product and say I like it -- I truly like it! :-) Thanks for reading and following Stephlin's Mountain.

26 June 2014

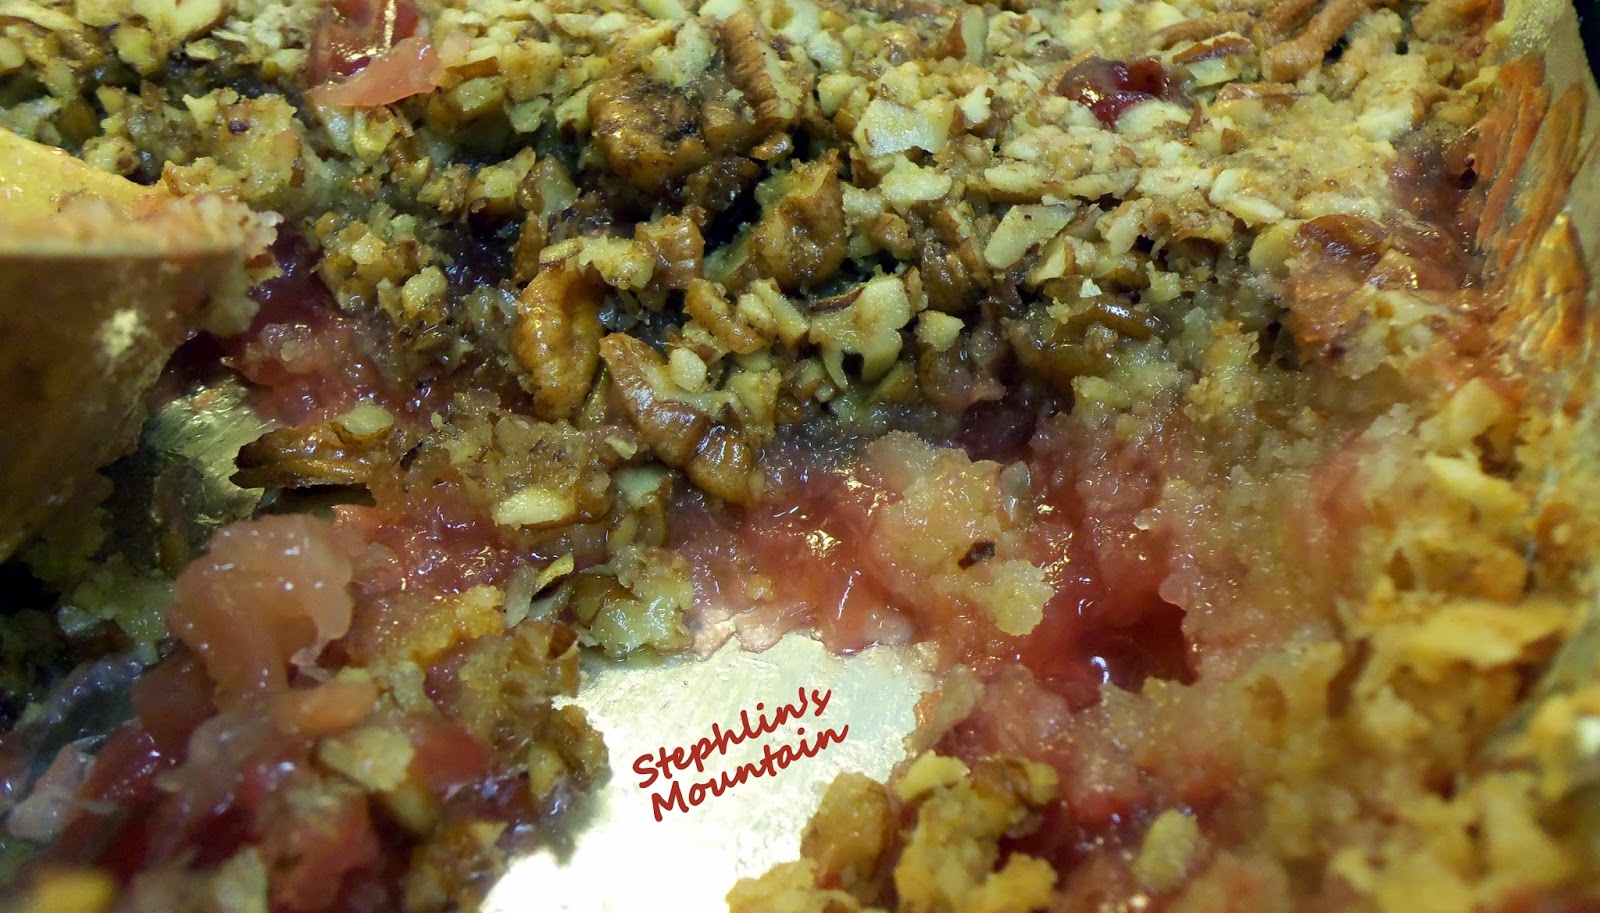
Delectable Dump Cake (Is it a Southern Thing?)

I don't know why, but I equate Dump Cake with the South. So imagine my shock and surprise when I discovered my southern born B had never heard of it, let alone tasted it.

I'm not quite sure what brought on the recent desire for Dump Cake to begin with. I remember reading a post about it online, then a few days later it was mentioned in my vicinity off-line. I guess I took that as a sign from above. Must. Make. Dump. Cake.

Dump cake also brings back memories.  Grandma Logue used to make it for us, and I bet it had been twenty years or more since my last bite.


Dump Cake as it is traditionally prepared, unfortunately, is not good for you. Don't worry, I didn't let that tidbit stop me. Yet I was feeling extra bummed about "dumping" a box of chemical-laden cake mix on top of my canned fruit. So I searched around for a recipe, and made my own. There! Now I feel a little better. (I really wanted to make my own cherry pie filling, but I just couldn't bring myself to pay the price for fresh cherries. I know they're going to be on sale soon, so I've put canning some for next time on my to-do list!)


The topping also includes a couple of cups of chopped pecans. I was able to use my chopping gadget to make quick work of some pecan halves my grandmother gave us. In fact, she's been supplying us with pecans for years.

I remember, when I was a kid, having to go to the tree in her backyard and pick them up off the ground. And I remember her and Grandpa sitting in the living room with a bowl full each, cracking them open.


Ready for the recipe, yet? Don't worry. I won't leave you hanging in suspense much longer.  ;-)


Delectable Dump Cake

Delectable Dump Cake

Ingredients

  • 1 (21 oz.) can cherry pie filling
  • 1 (20 oz.) can crushed pineapple, with juice
  • 2 full cups homemade yellow cake mix (or 1 box store bought)
  • 2 sticks unsalted butter, melted
  • 1 tbsp pure vanilla extract (make your own!)
  • 2 cups chopped pecans

Instructions

  1. Preheat oven to 350 degrees. Coat 9x13 pan with non-stick spray.
  2. Dump pineapple and cherry pie filling into pan. Swirl together and spread evenly over bottom of pan.
  3. Dump and spread yellow cake mix evenly over top of fruit.
  4. Dump and spread chopped pecans evenly over top of cake mix.
  5. Mix vanilla in with melted butter, and pour evenly over top of pecans.
  6. Bake for 45 minutes to 1 hour. (Mine took 55 minutes.)

Shared at All Things Thursday, Fabulously Frugal Thursday, Four Seasons Blog Hop, Thrifty Thursday, Thriving Thursday, and some of these other fine hops.


I was Featured!

Related Posts Plugin for WordPress, Blogger...